How to Change MAC (Media Access Control) Address in Windows 10
How to Change MAC (Media Access Control) Address in Windows 10
MAC (“media access control”) Address is a unique assigned identifier or a physical address for every Network Interface.
If you use a wireless network, you must need a network card for connecting other computers. Most of the user believe that the IP address is efficient in contacting with another computer on different networks. But more important than the IP (Internet Protocol) address is the MAC (Media Access Control) address.

A network card is a word used for a network interface card or we can call it as a NIC. Every NIC (network interface card) has a MAC address like a postal address that the travelling packets of data can reach your computer through correct NIC. Instead, the IP address is only a part of NIC, the MAC is a hardware address.
If you want to change the MAC address of your Windows PC, the trick will be a child’s play for you. But, make sure that it will be a temporary change and it will recover with the original MAC address after formatting your Windows.
How to Change MAC address in Windows 10?
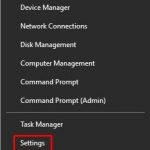
1. First, right click on “Menu” of your Windows 10.
2. Select Device Manager from the Menu.

3. Open the “Network Adapters”.

NOTE: you will notice a list of all the Network Adapters connected to your PC.
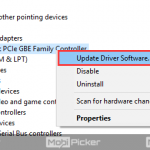
4. Right click to select the Properties on Network Adapters for changing the MAC address.
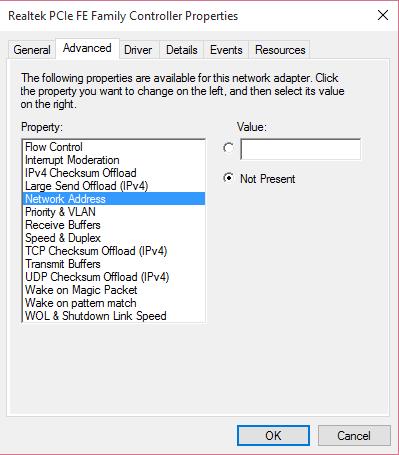
5. Switch to Advanced tab.

6. Click on “Network Address”.
7. Click on “Value Radio” button which is on the right side.
8. Assign a new MAC address.
9. Set a separate Network Interface for each.
The post How to Change MAC (Media Access Control) Address in Windows 10 appeared first on MobiPicker.
(163)

