How To Enable Subtitles On Kodi 17 Krypton With Estuary Skin
How To Enable Subtitles On Kodi 17 Krypton With Estuary Skin
Kodi – one of the most popular media center solutions available today – is an open source software available for almost any operating system you can name. A new version of Kodi 17 called Krypton recently arrived on the Play Store. The new version’s most notable feature is the inclusion of a new default skin called Estuary, with Estouchy as the special version for touchscreen devices. If you recently installed Kodi 17 Krypton but having a hard time figuring out how to enable subtitles on Kodi 17 Krypton with Estuary skin, you’re at the right place. This post will provide you with an illustrative step-by-step guide to enable subtitles on Kodi 17 Krypton with Estuary skin. Let’s dive straight in!

How to enable subtitles on Kodi 17 Krypton with Estuary skin
Follow these simple steps to enable subtitles on Kodi 17 Krypton with Estuary skin –
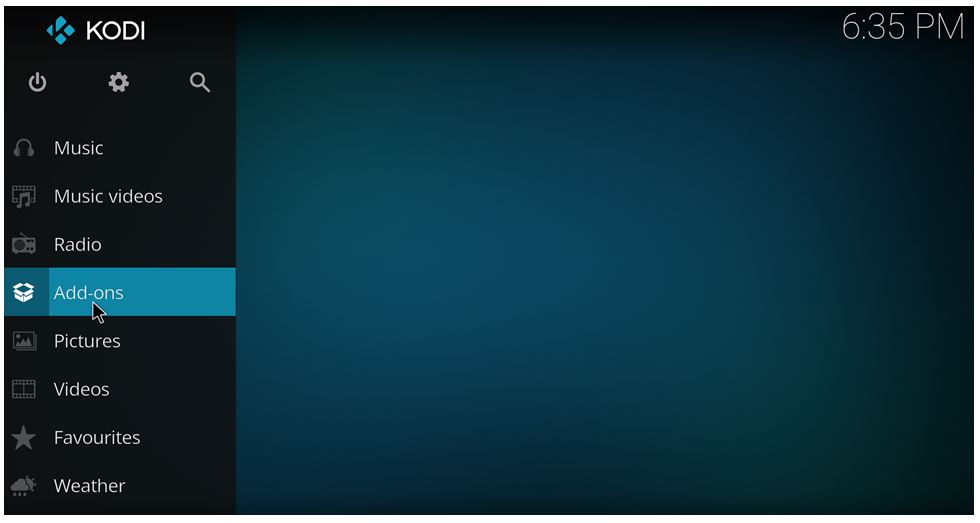
Step 1: In the home screen, click on Add-ons
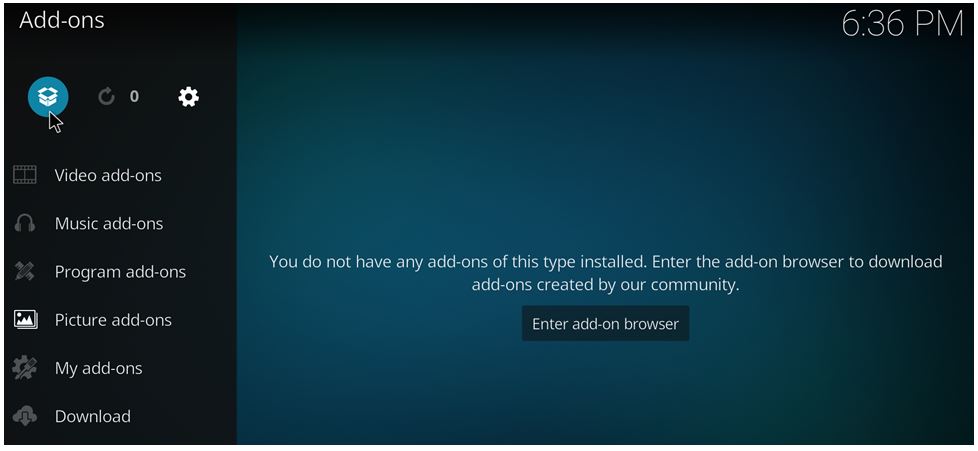
 Step 2: In the top left corner of the screen, you will see the Addon Browser icon (shown in the image below). Click on the Addon Browser icon.
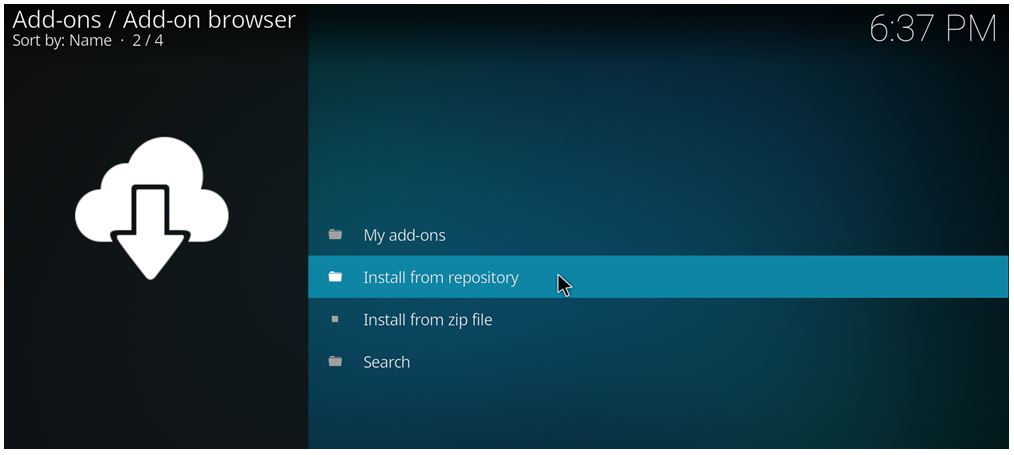
 Step 3: Click on Install from repository
 Step 4: Select Subtitles.
Note: If you have already installed 3rd party repos on your system, you should select the official Kodi Add-on Repository first.
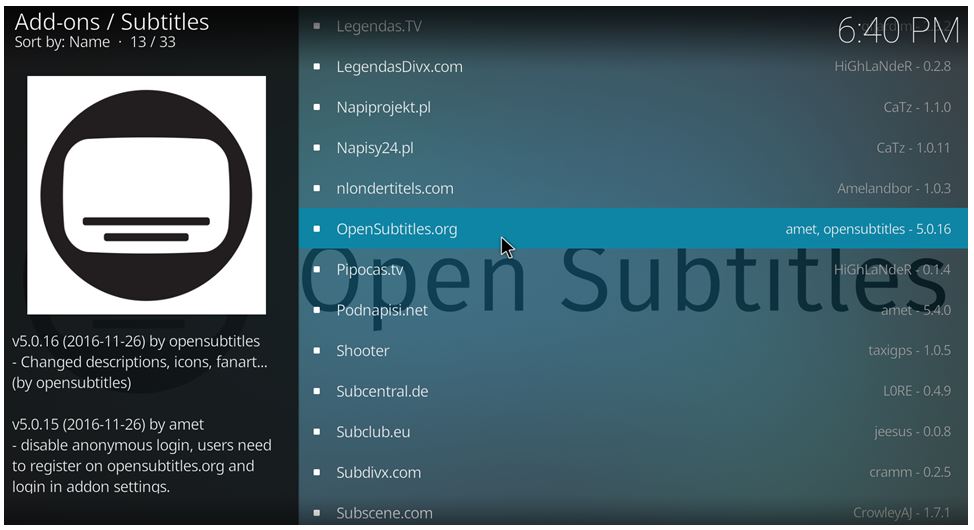
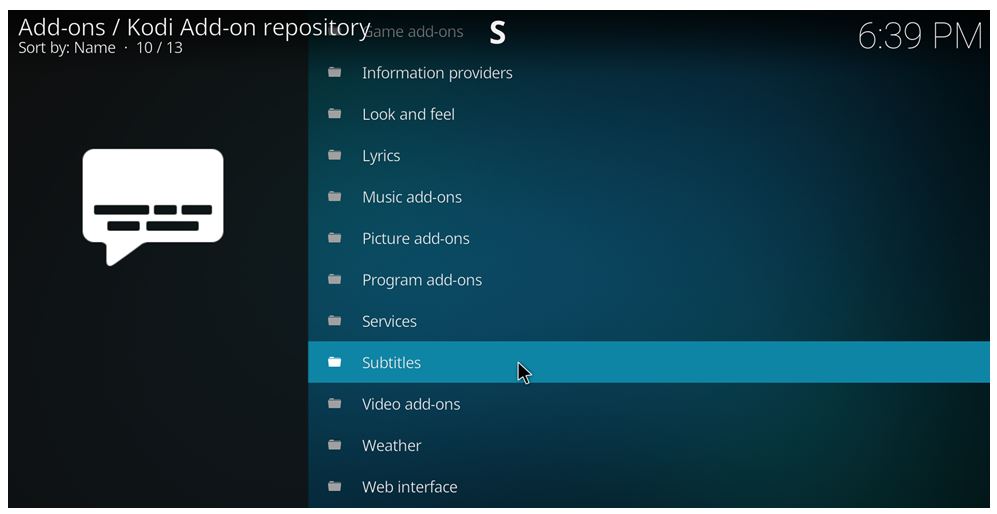 Step 5: After you click on Subtitles, you will notice that there are many options to choose from. We chose OpenSubtitles.org. OpenSubtitles.org has a large collection of subtitles across many languages. You can choose the one you like.
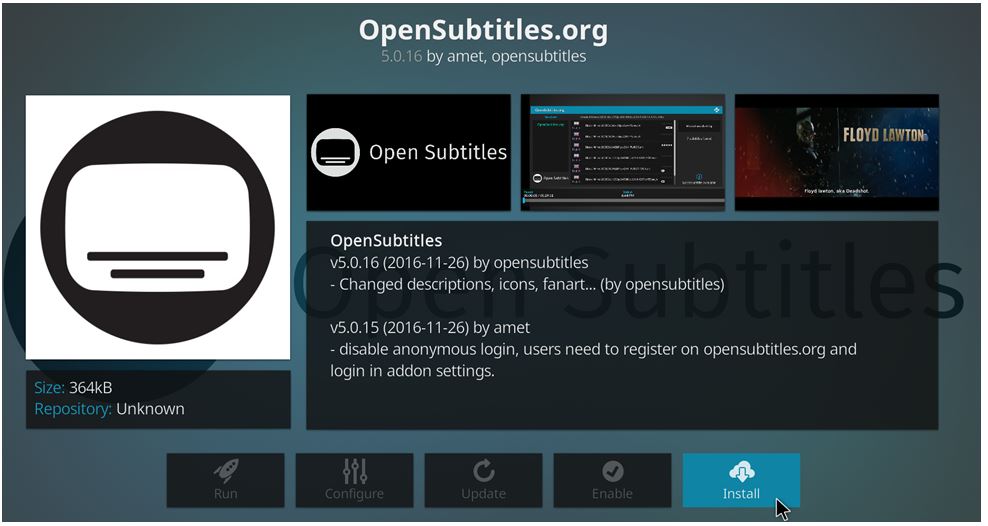
 Step 6: Once you have made the selection for subtitles, click on Install.
Setting up the Language for Subtitles in Kodi 17 Krypton
Once you have installed, you will have to setup the language for subtitles. Follow these simple steps –
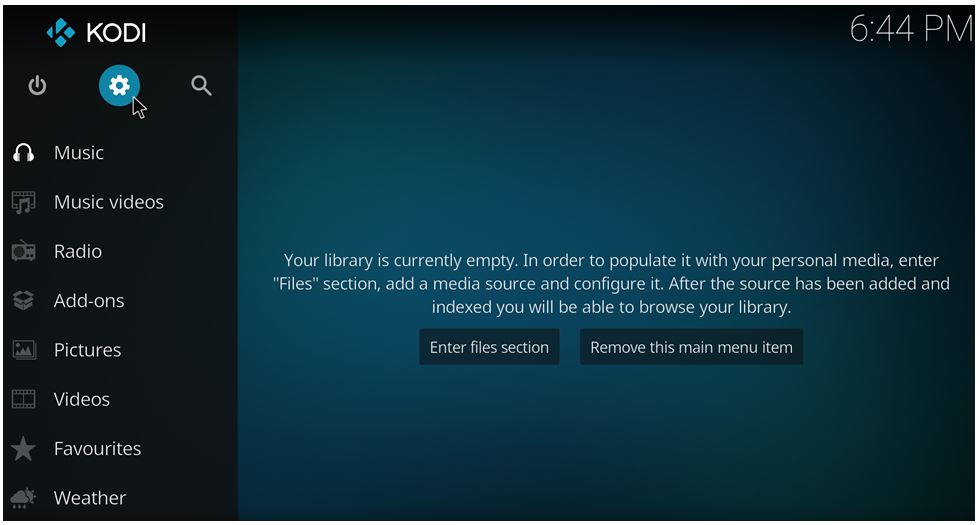
Step 1: Head to the home screen. Click on Settings (gear icon) that you see on the top left.
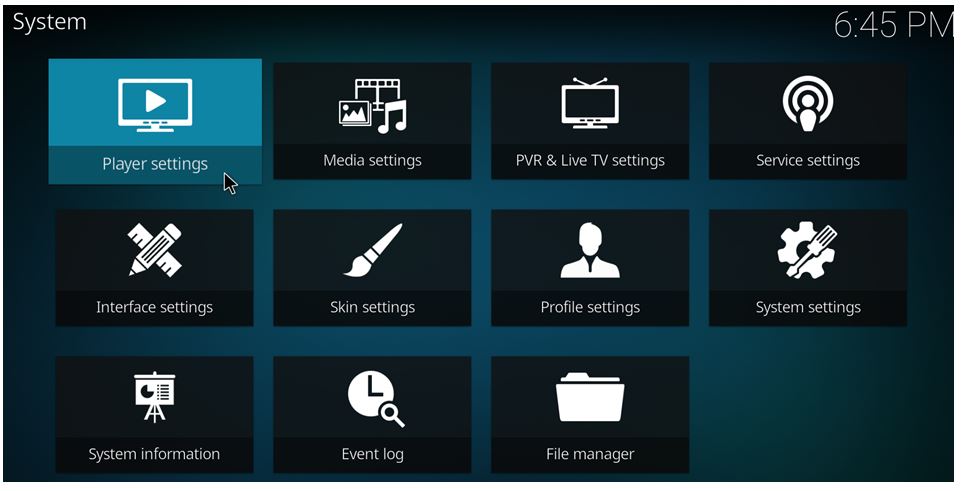
 Step 2: Click on Player Settings
 Step 3: Head to Language -> Languages to download subtitles for, as shown in the image below:
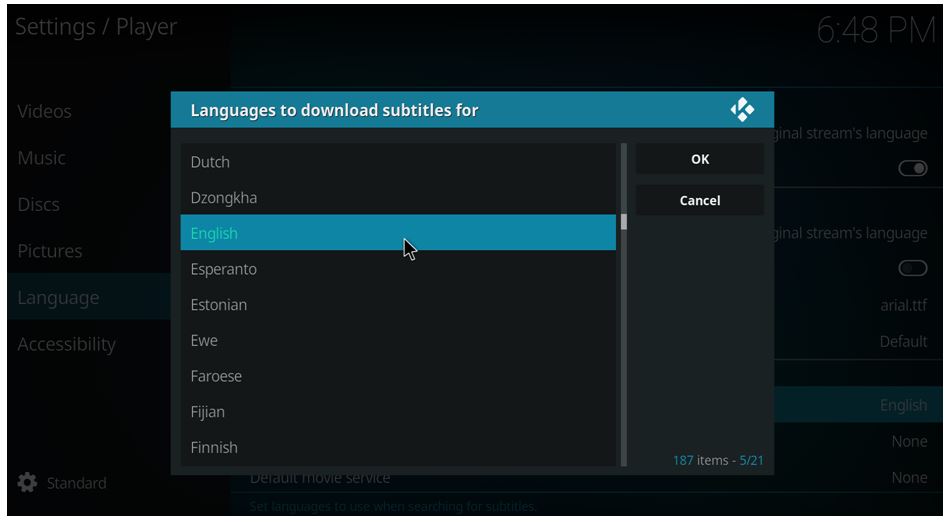
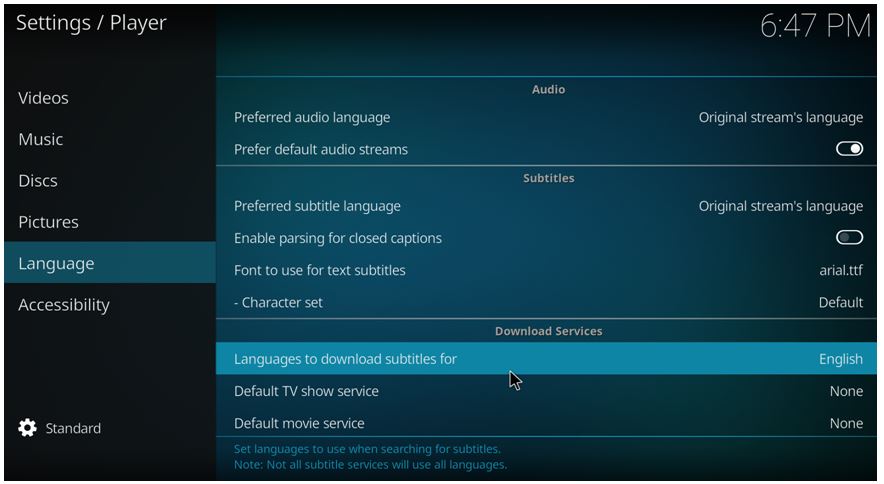 Step 4: Kodi 17 Krypton provides an option to select more than one language. We have chosen English.
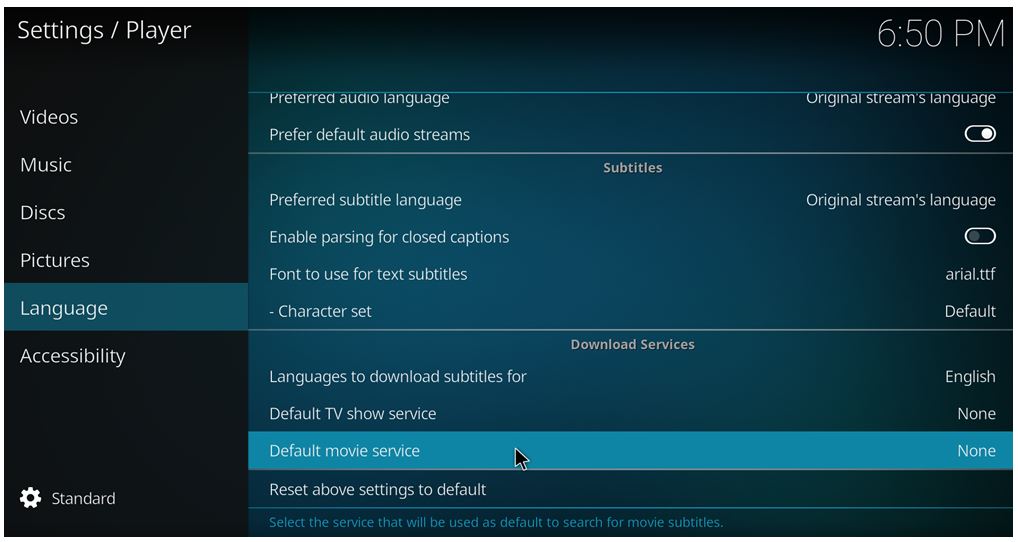
 Step 5: Now it’s time to set Default TV shows service and Default movie service to the subtitles add-ons that you just installed.
 Step 6: When playing a video, just select the Subtitles icon that appears at the bottom right of the screen controls. You can now download the subtitles.

How to Enable Automatic Subtitles On Kodi 17 Krypton
Going through the entire process of clicking on Subtitles followed by Download every single time you are watching a video can become annoying after some time. You can actually get around this issue by installing something called the Autosubs service. Follow these simple steps to enable automatic subtitles using Autosubs service –
Step 1: Head to Home screen and select Add-ons.
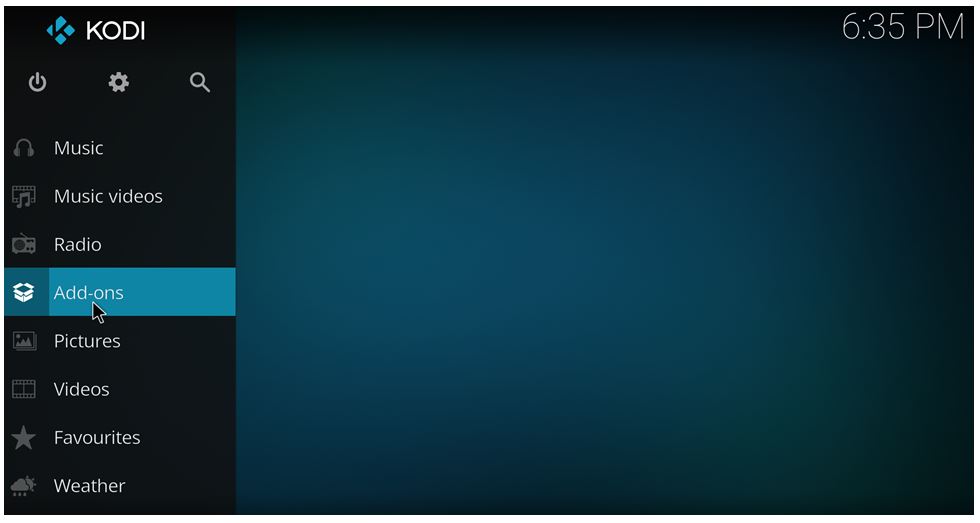 Step 2: Click on Addon Browser that you see on the top left corner of the home screen
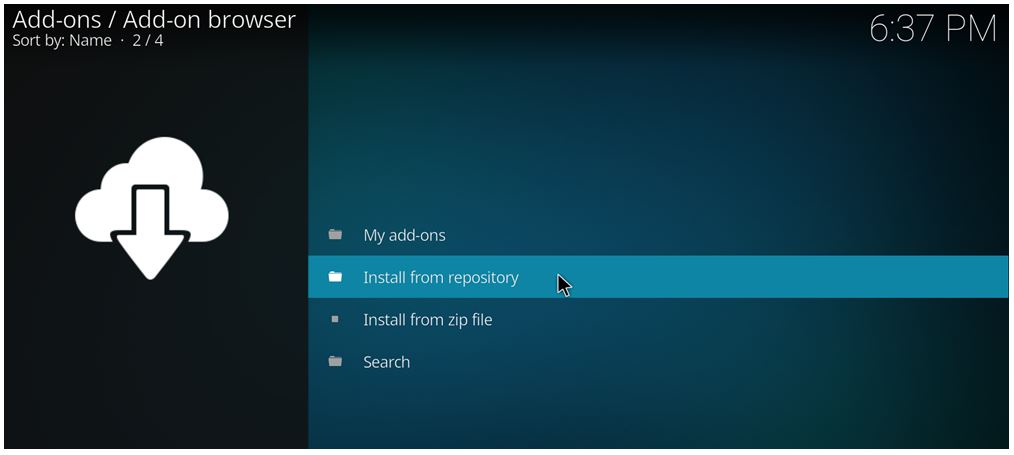
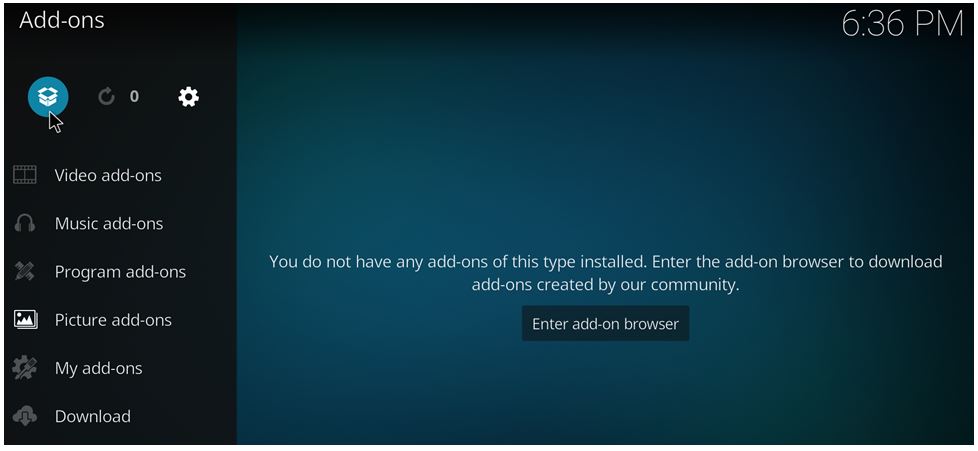 Step 3: Now select Install from repository
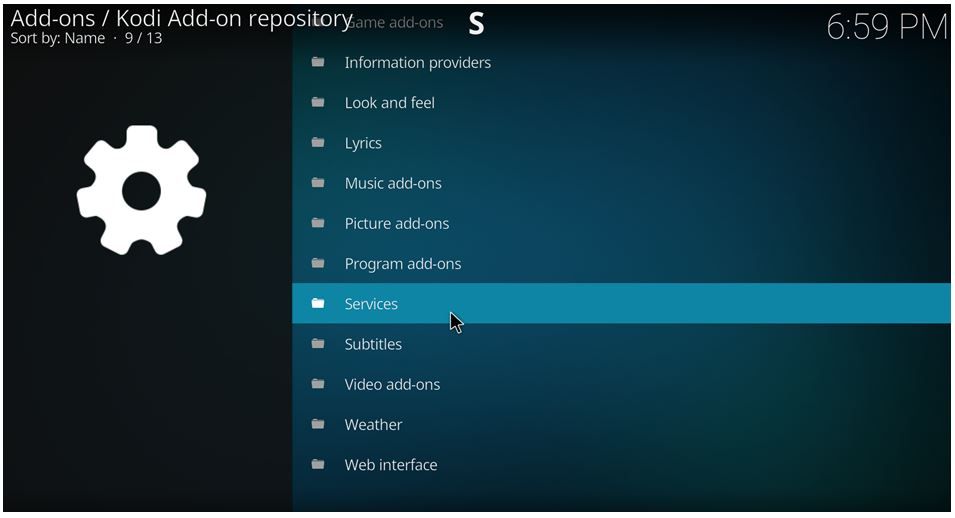
 Step 4: Select Services. As mentioned before, if you have already installed 3rd party repos on your system, you should select the official Kodi Add-on Repository first.
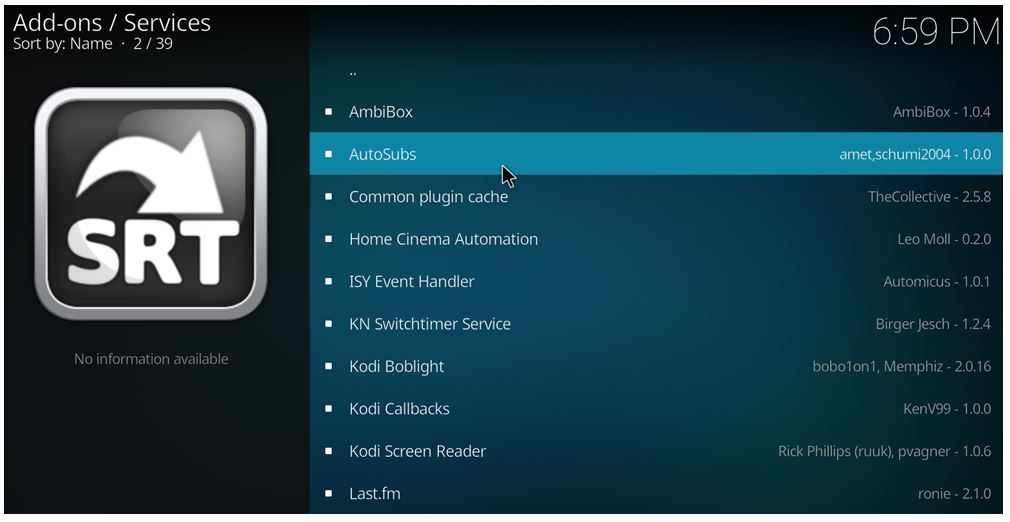
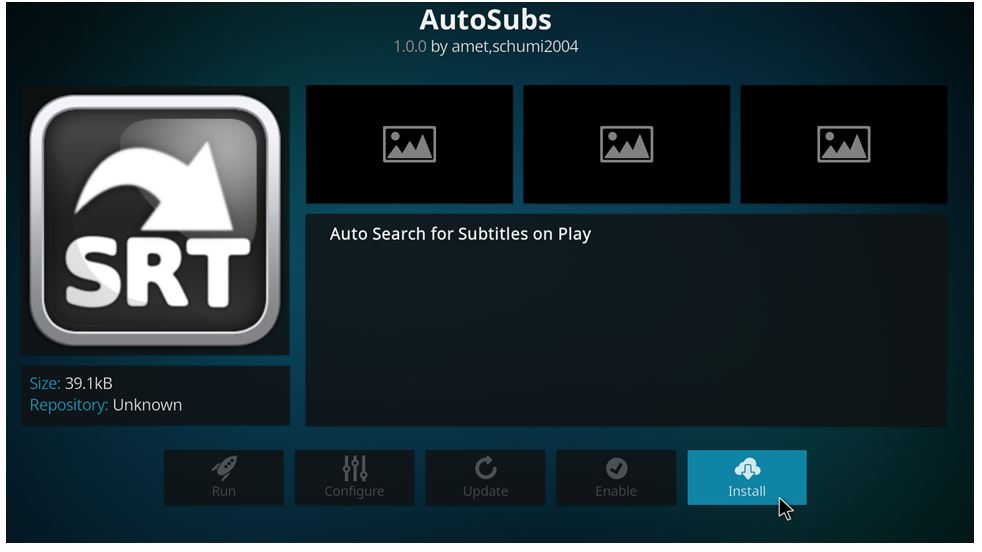
 Step 5: Now select Autosubs.
 Step 6: As a final step, hit Install.
There you go! You now know everything that you wanted to know about how to enable subtitles in Kodi 17 Krypton with Estuary skin.
Do let us know if you faced any issues while following the steps we outlined above. Do you like the all-new Kodi 17 Krypton with Estuary skin? Feel free to share your experiences in the comments section!
Also, check out the best video players for Windows PC and Legal Kodi Add-ons.
The post How To Enable Subtitles On Kodi 17 Krypton With Estuary Skin appeared first on MobiPicker.
(151)


