iPhone is Disabled, Connect to iTunes: How to Fix it Easily
iPhone is Disabled, Connect to iTunes: How to Fix it Easily
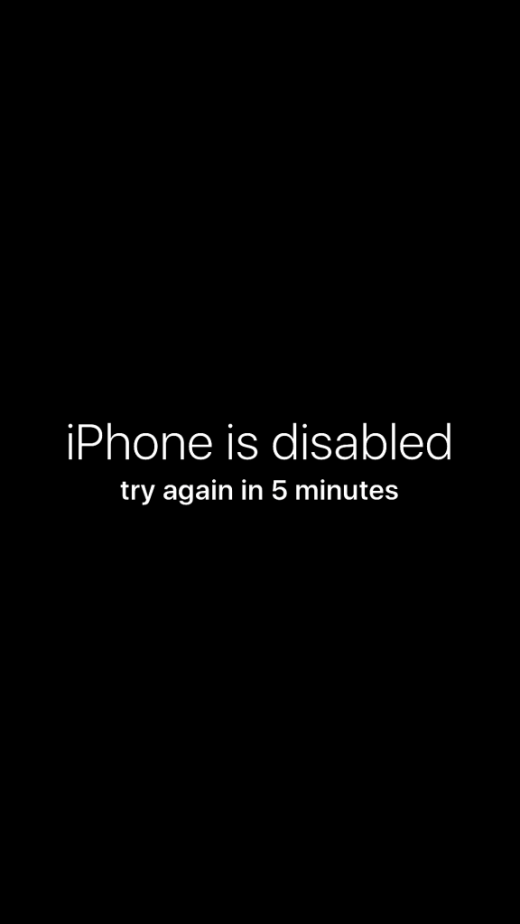
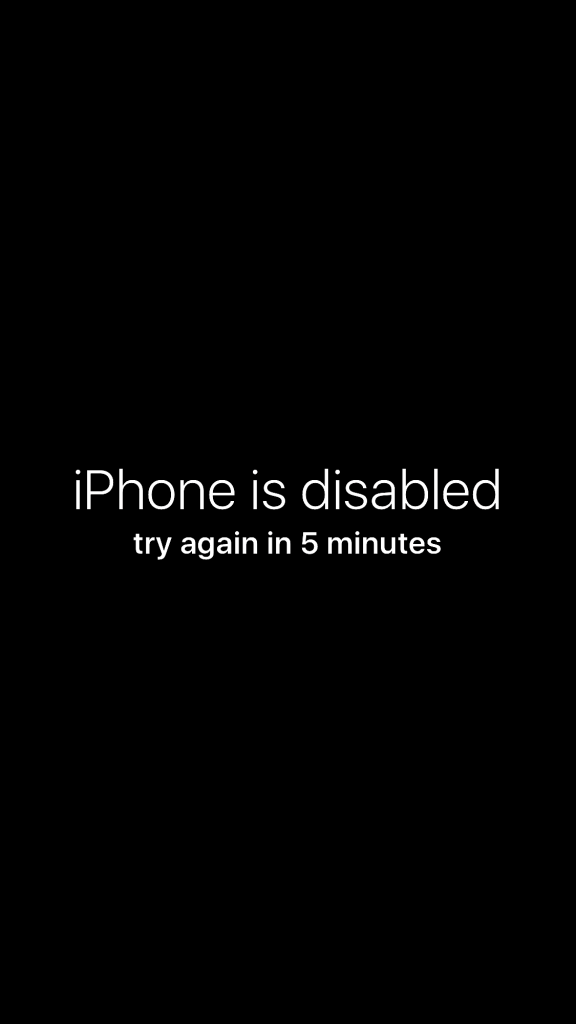
Finding yourself in a situation where you see “iPhone is disabled, connect to iTunes“? Many users have become frustrated with this issue. Not knowing why the iPhone gets disabled makes the situation even worse. We have come across this issue too and have been frustrated. Which explains why we are putting up this know-how post on unlocking a disabled iPhone.

You must be wondering how in the world did my iPhone get disabled even though I remember my passcode perfectly well? Well, turns out forgetting your passcode is not the only reason your iPhone gets disabled.
My iPhone is disabled. But WHY?
Most common reasons why your iPhone could become disabled –
Snoopers: Family members/friends who try to figure out your iPhone passcode but aren’t aware that there are, in fact, a limited number of attempts to guess the passcode.
Bubbly cheerful visitors: iPhones and kids go together. Kids try all sorts of things with the iPhone and before you could get your hands on the iPhone, it’s already disabled.
iPhone is disabled: The fix is here
First or second incorrect passcode attempt does NOT disable an iPhone. Different number of incorrect attempts lead to iPhones getting disabled for a specific period time of time – all the way from 1 minute to 1 hour.
- You’re lucky if you only got 1-5 incorrect passcode attempts. No Problem. iPhone isn’t disabled.
- Disabled for 1 minute after 6 incorrect attempts
- Disabled for 5 minutes after 7 incorrect attempts
- Disabled for 15 minutes after 8 incorrect attempts
- Disabled for 60 minutes after 9 incorrect attempts
10 incorrect passcode attempts? Too bad! iPhone is disabled!
Yes. After a staggering 10 incorrect passcode attempts, your iPhone becomes disabled. Worse, iPhone is completely erased of all data if Erase Data is turned on in Settings -> Touch ID & Passcode
Can I disable iPhone if I repeatedly enter the same, incorrect passcode?
Let’s say your passcode is 2376. But you “think” your passcode is 2736 and repeatedly enter 2736 for 15 times straight. Does this disable your iPhone? NO! Why? Because your iPhone will become disabled only if you enter SIX (6) different incorrect passcodes. iPhone is smart. Very smart.
Let’s say your iPhone is disabled for reasons that you have no idea about. Is there a way to unlock your iPhone?
Unlock iPhone after it’s disabled. Possible?
The answer to this question is a definite NO. Once you see “iPhone is disabled, connect to iTunes“, there’s no way you can unlock it. The only thing that will get you out of this situation is erasing your iPhone and starting over. But, if you have been smart enough to have your iPhone backed up to iCloud or iTunes, you are in luck! Using backup, you can restore your data after you erase all the data on your iPhone. But backup must have been created before the phone became disabled. There’s no way you can backup data after the iPhone is disabled.
If your iPhone is disabled, you have no other option but to connect to iTunes/iCloud, erase the data and then restore the data if you have a backup. Using iTunes is recommended because it just saves you a lot of trouble. Using iCloud requires you to know your Apple ID and password. So, iTunes is simpler.
Using iTunes to erase iPhone
You can restore your iPhone using a method called DFU restore. Here are the steps –
- Connect your iPhone to your computer
- Open iTunes. Press and hold the Sleep / Wake Button and Home Button together for 8 seconds
- Release the Sleep / Wake Button after 8 seconds but continue to hold the Home Button until you see “iTunes has detected an iPhone in recovery mode”
- Let go of the Home Button.
- Your iPhone’s display will turn completely black if you’ve successfully entered DFU mode. If not, try again from the beginning.
- Restore your iPhone using iTunes.
Using iCloud to erase iPhone
If Find My iPhone was turned on before your iPhone was disabled and if you signed into iCloud, visit Apple: iCloud to erase your iPhone. Here are the steps –
- Sign in with your Apple ID and password
- Choose your iPhone from All My Devices dropdown menu
- Choose Erase iPhone
- Continue to the next section after erasing is done
There’s more to “iPhone is disabled, connect to iTunes” than just using iTunes/iCloud. You have to set up your iPhone all over again.
Setting up your iPhone. Again.
After you have restored your iPhone using iTunes or have erased it using iCloud, you can proceed as below –
- If you backed up your iPhone to iTunes before it was disabled and erased it using iCloud.com, choose Restore from iTunes backup during the setup process. If you restored your iPhone using iTunes, choose to restore from your iTunes backup using the Set Up screen in iTunes.
- If you backed up your iPhone to iCloud before it was disabled and you used iTunes to DFU restore your iPhone, unplug your iPhone from your computer. Note that it’s already unplugged if you used iCloud to erase your iPhone. Choose Restore from iCloud Backup during the setup process on your iPhone.
- If you don’t have a backup, unplug your iPhone from your computer. Note that it’s already unplugged if you used iCloud.com to erase your iPhone. Set up your iPhone while it’s disconnected from iTunes. You can then sync your iPhone with iTunes after you set it up, if that’s what you want to do.
Aha! Your iPhone is now enabled! Glad that you figured a way out of the frustrating “iPhone is disabled” problem? Good! We are always ready to help. You are now aware of unlocking a disabled iPhone. But if for some reason, your iPhone is still disabled, we suggest you to contact Apple Support.
Facing other iPhone issues? Check out our fixes for iMessage not working and iMessage waiting for activation issue. If you’re looking for freeing up some space on your iPhone, check our post on how to clear Data and Documents and free up space.
The post iPhone is Disabled, Connect to iTunes: How to Fix it Easily appeared first on MobiPicker.
(78)


